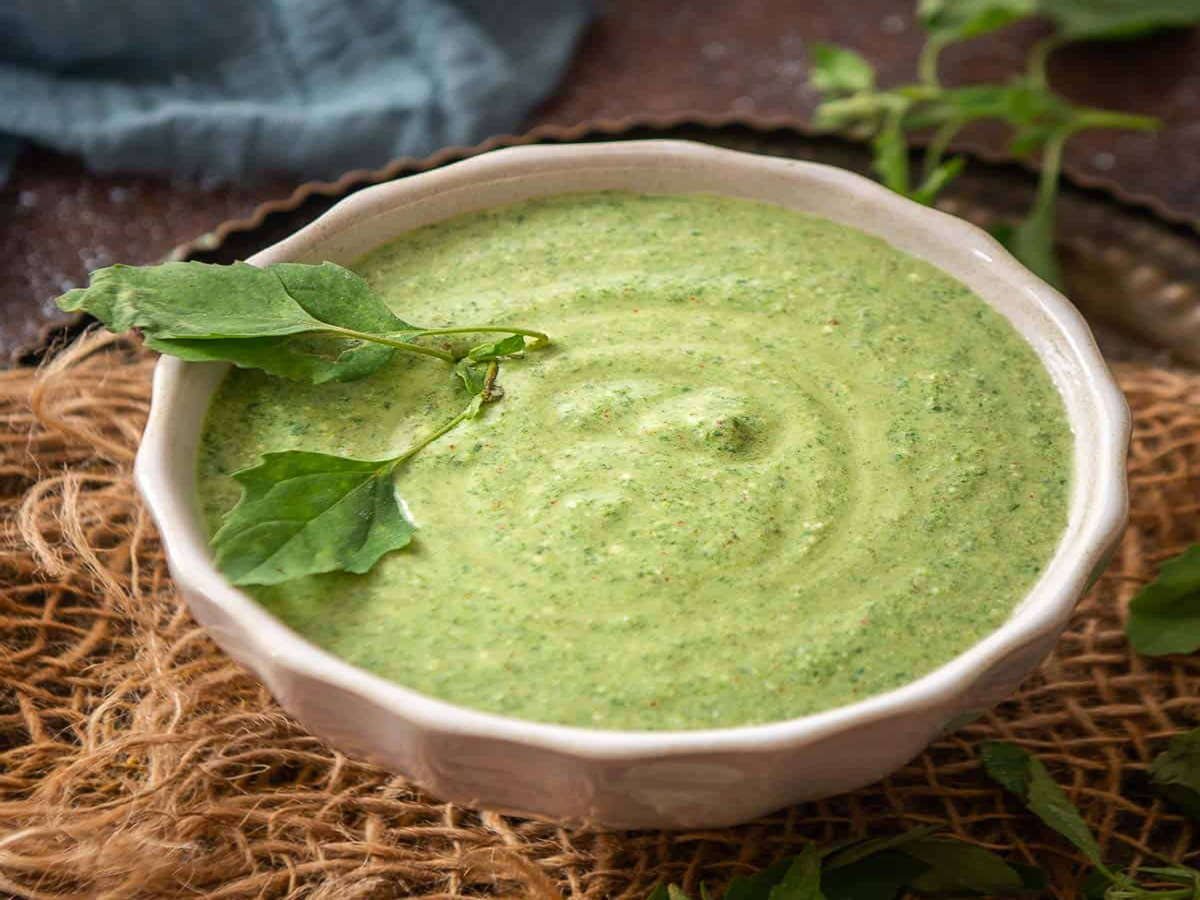
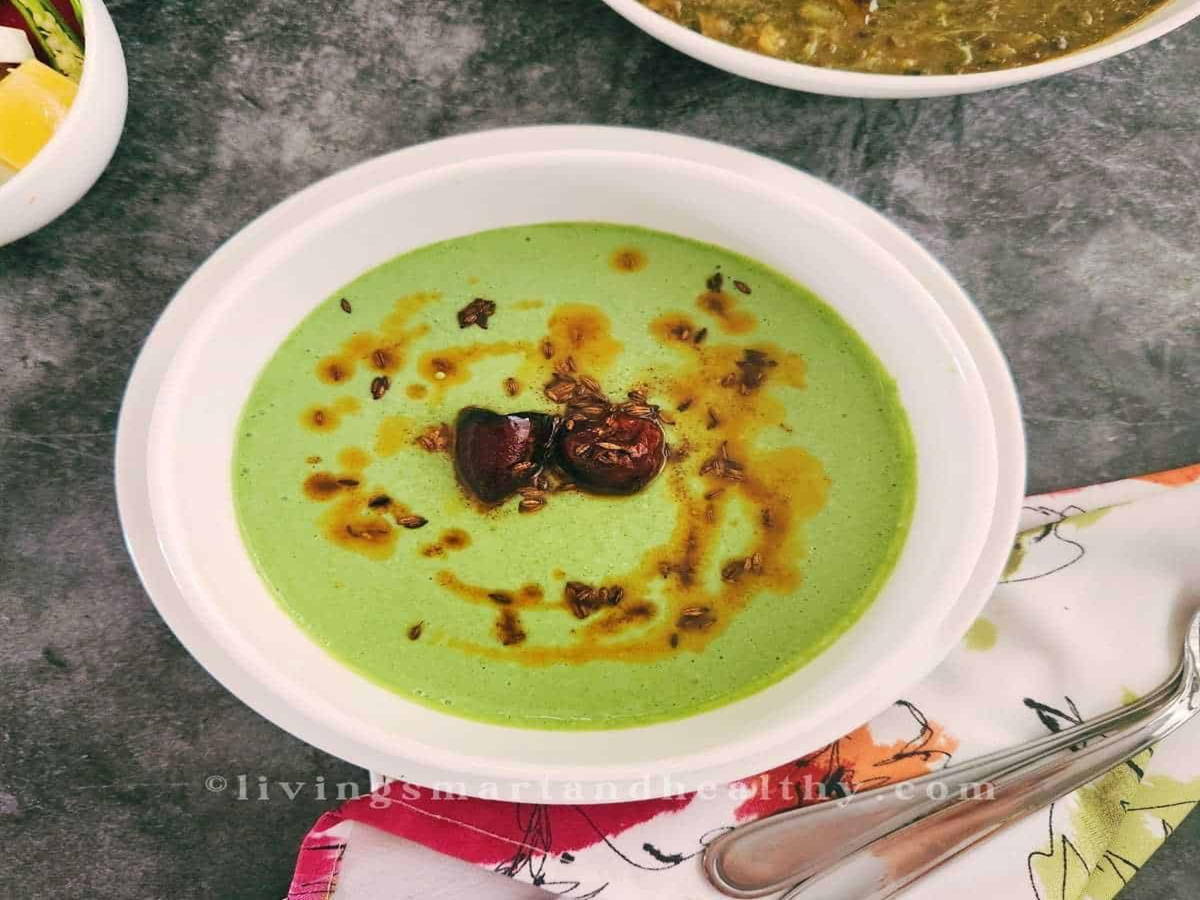
Bathua Raita Recipe: A bowl of raita served alongside hot parathas, potato curry (aloo ki sabzi), or a fragrant pulao truly elevates the meal. In the winter season, *bathua* (lamb's quarters/chenopodium) is an excellent choice for preparing this dish. While its leaves are commonly used to make *saag* (greens) and parathas, they also pair wonderfully with yogurt. You don’t need a long list of ingredients to make *bathua* raita; it can be prepared using fresh *bathua*, yogurt, and a few basic kitchen spices. However, to ensure a great flavor, pay attention to cleaning the leaves properly, boiling them for the right amount of time, and achieving the right consistency for the yogurt. Most importantly, ensure the boiled *bathua* has cooled down completely and that all excess water has been squeezed out before adding it to the yogurt.
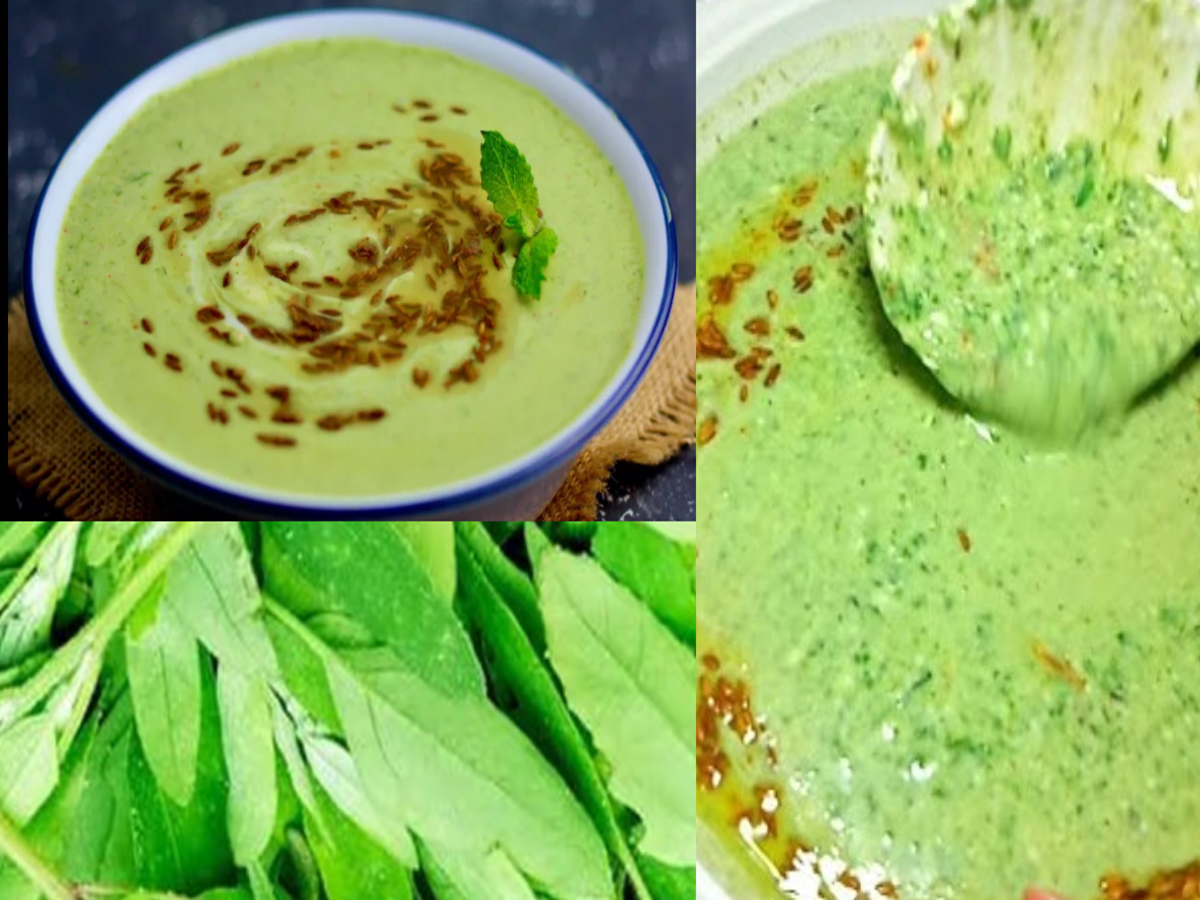
This makes it easier to maintain the desired thickness of the raita. Roasted cumin enhances its aroma, while black salt (*kala namak*) adds a subtle, tangy, and savory kick. If you are looking to add something different to your everyday home-cooked meals, this simple recipe is worth a try.
Ingredients for the Raita
You will need about two cups of cleaned *bathua* leaves and two cups of yogurt. For spices, keep half a teaspoon of roasted cumin powder, a quarter teaspoon of black salt, and a quarter teaspoon of red chili powder on hand. Add regular salt to taste. If you prefer a bit of heat, you can also add some finely chopped green chilies. Use fresh coriander leaves for garnishing. Since black salt is also salty, start by adding a smaller amount of regular salt, and adjust it only after tasting the raita.
Selecting *Bathua*
Choose fresh, tender leaves for the raita. Discard any yellow, damaged, or wilted leaves. Also, remove thick or tough stems, as they don't have a pleasant texture when included in the raita. You may keep the tender, soft stems along with the leaves. If the *bathua* (lamb's quarters) you bought from the market contains other weeds or unwanted leaves, sort through it and remove them. While this preparation takes some time, using clean, carefully selected leaves ensures a better texture for your *raita*.
**Wash the leaves thoroughly by changing the water**
Fill a deep vessel with clean water, add the *bathua*, and stir it gently. After a while, the soil will begin to settle at the bottom. Carefully lift the leaves from the top, transfer them to another container, and discard the dirty water. Repeat this process—changing the water each time—two to three times. If necessary, wash them once more. Avoid pouring the leaves along with the dirty water into a colander, as the soil that has settled at the bottom might end up back on the leaves. Once washed, place them in a colander and allow the excess water to drain away.
**Boil only until the leaves are tender**
Heat water in a pot and add the cleaned *bathua*. Cook the leaves until they become tender. This usually takes about five to seven minutes, though the exact time may vary depending on the tenderness and quantity of the leaves; check by testing a single leaf. Do not boil the *bathua* longer than necessary. Once tender, remove the leaves using a colander and let them cool. Do not attempt to squeeze the water out of the hot leaves using your hands.
**Remove excess water before mixing into the yogurt**
Once the boiled *bathua* has cooled, gently squeeze it—using clean hands or a colander—to remove any excess water. This simple step prevents the *raita* from becoming too thin. Afterward, finely chop the *bathua* or pulse it in a mixer until coarsely ground. You should not need to add any extra water when using a mixer. Aim for a slightly textured consistency rather than a completely smooth paste; however, if anyone in your household dislikes finding bits of leaves, you can blend it into a finer consistency according to your preference. Whisk the yogurt until smooth.
Place the yogurt in a bowl and whisk it thoroughly using a whisk or a spoon. Ensuring there are no lumps in the yogurt will make it easier to incorporate the *bathua* (lamb's quarters) and spices. Since very sour yogurt can make the *raita* taste overly tart, choose your yogurt accordingly. If the yogurt is too thick, start by adding just a little chilled, drinkable water. Re-evaluate the consistency of the *raita* after adding the *bathua*; it is difficult to thicken the mixture later if too much water is added initially.
Add the spices, taste, and adjust the seasoning.
Add the prepared, cooled *bathua* to the whisked yogurt. Next, stir in roasted cumin powder, black salt, and red chili powder. If you choose to add green chilies, ensure they are finely chopped so that no large pieces end up in a single spoonful. Gently mix everything and taste the *raita* before adding regular salt. If preparing for children or those who prefer milder flavors, you may omit the green chilies and reduce the amount of red chili powder. Be careful not to over-season, as the spices should not overpower the flavor of the *bathua* and yogurt.
Enhance the aroma of your raita with roasted cumin.
If you don’t have roasted cumin powder at home, place some cumin seeds on a clean griddle (tawa) and roast them lightly over a low flame. Once the aroma begins to emerge, turn off the heat and let the cumin cool down. Then, crush it coarsely or grind it before use. Be careful not to burn the cumin, as this can make the raita taste bitter. Mix some of the roasted cumin into the prepared raita and set aside a little to sprinkle on top. Also, clean and finely chop some fresh coriander leaves to add just before serving.
Chill and serve alongside your favorite dishes.
You can cover the raita and refrigerate it for about 15 to 20 minutes. Give it a quick stir before serving, and garnish with the roasted cumin and fresh coriander. It pairs well with potato (aloo) or cauliflower (gobhi) parathas, matar pulao, tehri, or dal-chawal. The total time required to prepare the raita will depend on the time spent cleaning the greens, boiling them, and letting them cool; therefore, if you are short on time, measure out your ingredients beforehand. The actual mixing process takes only a few minutes.
Prioritize hygiene alongside flavor.
Once the bathua (goosefoot greens) raita is ready, keep it covered in the refrigerator and use a clean spoon to serve it. Prepare only the amount you need so that you don’t have to repeatedly take the remaining raita out of the fridge. Think of it as a side dish to accompany your meal, rather than a cure for an ailment or a replacement for a full meal. The perfect balance of flavor comes from using clean greens, properly boiled bathua, well-whisked yogurt, and a measured amount of spices.
PC Social Media