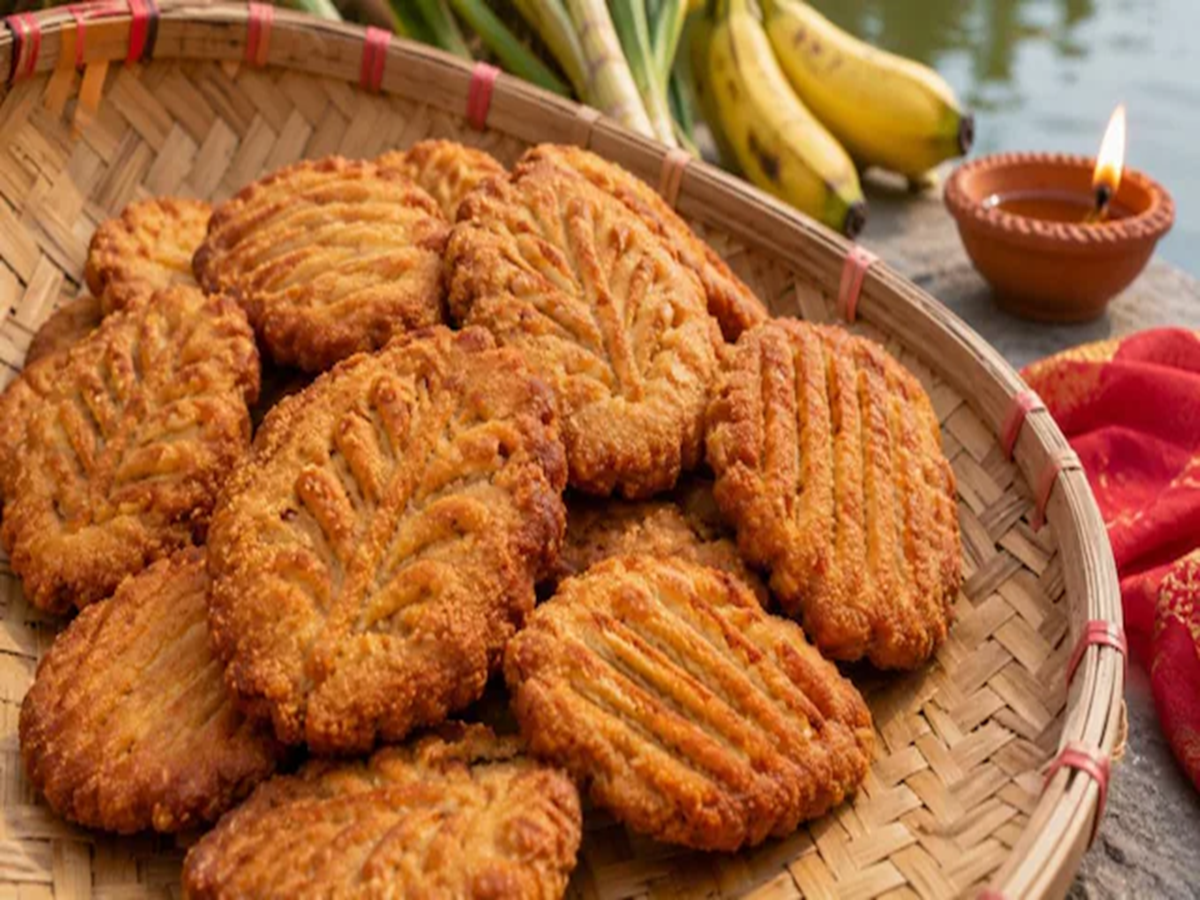
Chhath Puja Thekua Recipe: When *thekua* is prepared at home as an offering (*prasad*) for Chhath Puja, the aroma of *ghee* (clarified butter) and coconut fills the kitchen. While the intricate patterns from the mould and a golden-brown hue might suggest the *thekua* is ready, its signature crisp, flaky texture is only truly revealed once it has cooled down. Sometimes, a *thekua* can be so hard that it requires significant effort to break, while at other times, the exterior may turn dark brown even though the dough remains raw on the inside. In this recipe from 'Priti ki Rasoi', wheat flour is combined with a bit of *sooji* (semolina) and desiccated coconut. The semolina adds a delicate crunch, while the coconut provides a distinct flavour in every bite. There are three key aspects to keep in mind while preparing them.
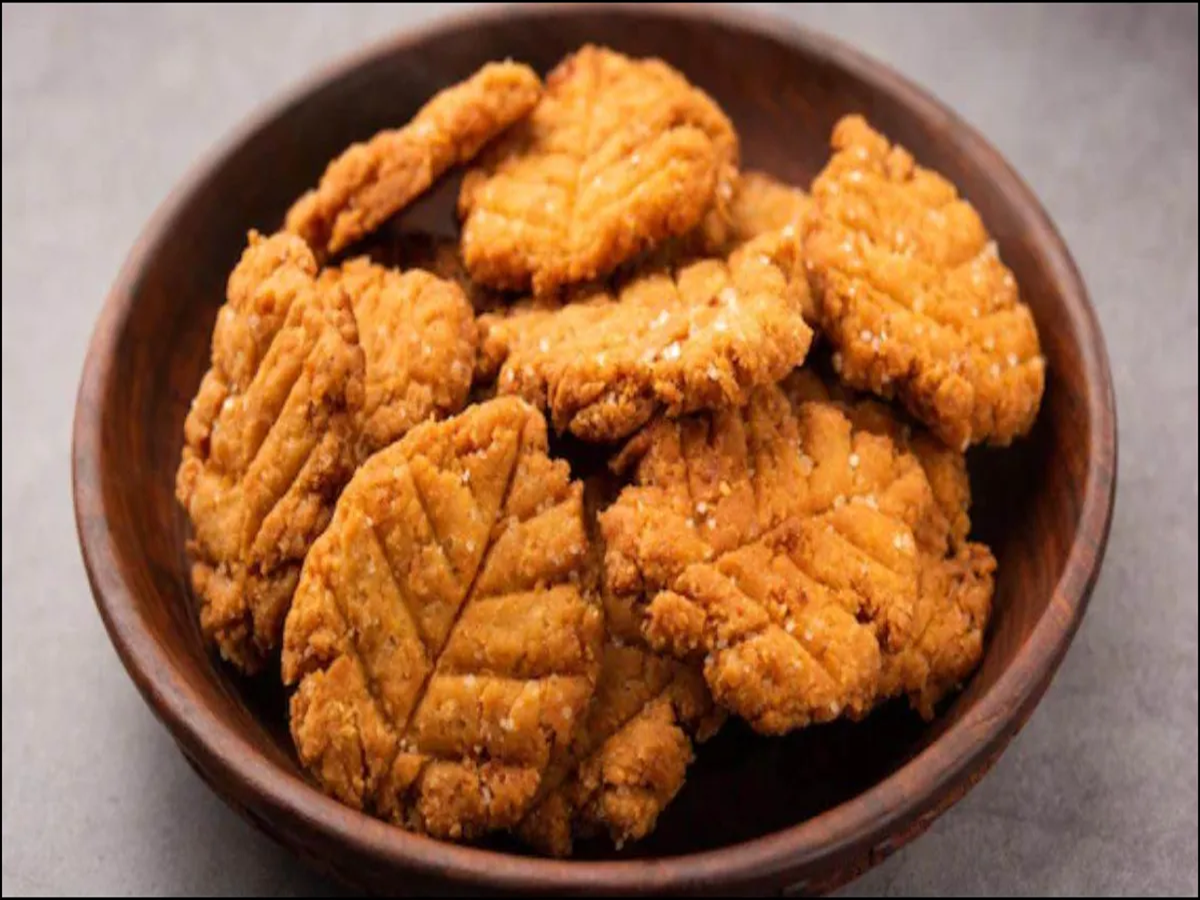
First, ensure the *ghee* is thoroughly incorporated into the flour. Then, add milk—a spoonful at a time—just enough to bind the dough so that it can be shaped into small balls. During frying, carefully manage the heat; otherwise, the surface might darken before the centre is fully cooked. If you are making them for the first time, fry one *thekua* as a test; this will help you gauge the ideal thickness and the correct heat level for the rest.
What are the proportions of *ghee*, semolina, and coconut for two cups of flour?
Using the same measuring cup, take two cups of wheat flour, half a cup of sugar, a quarter-cup of semolina, a quarter-cup of desiccated coconut, and a quarter-cup of *desi ghee*. In this recipe, sugar is used for sweetness, and milk is used to bind the dough. Keep the milk in a small bowl and add it gradually as needed. The quarter-cup of *ghee* is for mixing into the flour; keep additional *ghee* or oil aside for frying. If the sugar grains are very coarse, you can pulse them briefly so that the sugar is evenly distributed throughout the mixture.
A common mistake is failing to properly rub the *ghee* into the flour.
In a large, shallow platter (*parat*), combine the wheat flour, semolina, desiccated coconut, and sugar, and mix them well while still dry. Now, pour the measured ghee over the entire mixture and gently rub the flour between your palms. This process of incorporating ghee into the flour is known as 'moyan' (shortening). To check if it is done correctly, squeeze a small portion of the mixture into your fist; if it holds its shape but crumbles when touched with a finger, the ghee has been incorporated well. If the mixture falls apart as soon as you release your grip, gather the flour from the bottom and sides of the mixing bowl and rub it again. Only after this check should you begin adding milk.
Another common mistake is adding too much milk, which makes the dough too soft.
Add the milk to the prepared flour one tablespoon at a time. After each addition, mix it in by hand and test the consistency by squeezing a small portion. Once the dough begins to come together, press it into a firm mass. The dough for 'thekua' should be slightly firmer than the dough used for making rotis (flatbreads). If the edges crack while forming the dough balls, dab a little milk onto them and press again. If the dough sticks to your palms, add a small amount of dry wheat flour. Knead the dough only until it is firm enough to be shaped into balls; this will make it easier to maintain the desired shape when pressing it into a mold.
Ensure the thickness of the 'thekua' remains uniform when pressing it into the mold.
Divide the dough into equal-sized portions (balls) and keep the remaining dough covered. Lightly grease the wooden mold with a little ghee using your fingers. Place a dough ball onto the mold and press it down with your palm to ensure a clear impression. When removing the 'thekua' from the mold, lift it gently from one edge. If you do not have a mold, flatten the dough ball on your palm and create light patterns on it using a fork—press the fork gently against the surface. If the center of the 'thekua' is too thick, it will take longer to cook; therefore, try to keep the thickness of the center and the edges roughly the same. Also read: Sauté some cumin seeds in ghee, then add fresh fenugreek leaves to an onion-tomato masala base—this homemade 'methi chhole' (fenugreek and chickpea curry) pairs perfectly with hot bhaturas.
A third common mistake is frying 'thekua' over a flame that is too high.
Heat the ghee or oil in a pan over medium heat. Test the temperature by dropping in a small piece of dough; if gentle bubbles form around it and it rises to the surface slowly, the oil is ready for frying. Add one thekua at a time and allow the bottom side to set before flipping it over with a slotted spoon to cook the other side. If the color begins to change too rapidly upon adding, lower the heat. Fry over a low-to-medium flame until both sides turn golden brown. Add only as many thekuas to the pan as can be easily flipped. Check the temperature of the ghee after each batch, as it may change with every round of frying.
Place them on an open tray after removing them from the pan.
Remove the fried thekuas using a slotted spoon and hold them over the pan for a few moments to allow any excess ghee to drip off. Then, arrange them in a single layer on a wire rack or an open tray. A hot thekua may feel slightly soft to the touch; allow it to cool completely before testing its texture—once cooled, the outer layer will become much crispier. If you intend to store them in a container, ensure all the steam has escaped first. Placing hot thekuas in a sealed container can cause moisture to build up inside, which will compromise their crispiness.
PC Social Media